
For this tutorial you will require Photoshop & Camera Raw
In this tutorial I’m going to bring more attention to something in your photo. This is great if the picture is a little bit cluttered or you feel like being artsy-fartsy. Ha ha ha, my edition of Microsoft Word recognises the word “artsy” but not “fartsy”. But back on topic, the example I’m using is a promotional picture for my graphic design business Blue Crane. One of our promotional tools is an origami crane with some of our contact details on it, but in the photo it’s a little bit lost amongst all the background colour. To remedy this I’m going to get rid of every colour except the Blue Crane blue. So lets get started!
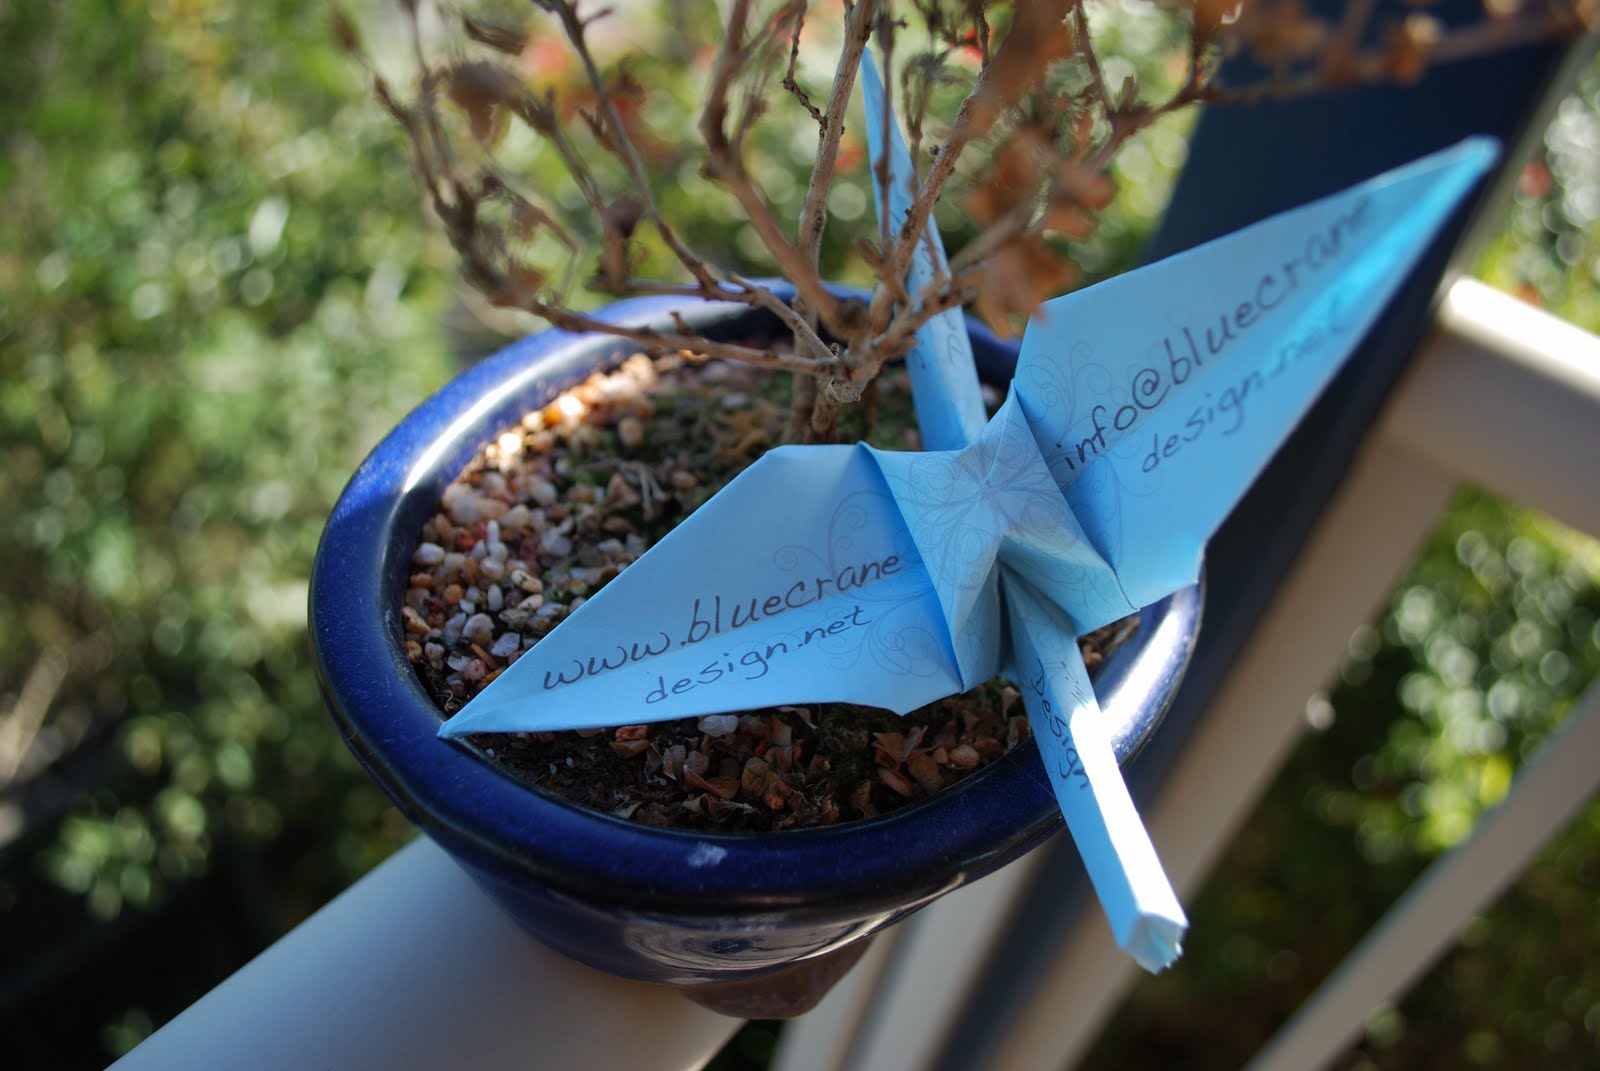
Bam! There’s the original picture and as you can see I’ve already pulled focus towards the crane by using a large aperture to blur the background, but more on apertures in the next post. So the first step is to open the image in Adobe Camera Raw. To do this on a Mac you just simply drag your RAW file (remember the talk we had about RAW images?) from the finder into Photoshop and Photoshop will launch Camera Raw automatically. On windows I’m not sure, but just try opening the picture and hope for the best. So when it opens it should look like this.

To start with lets go up to the HSL/Grayscale tab.

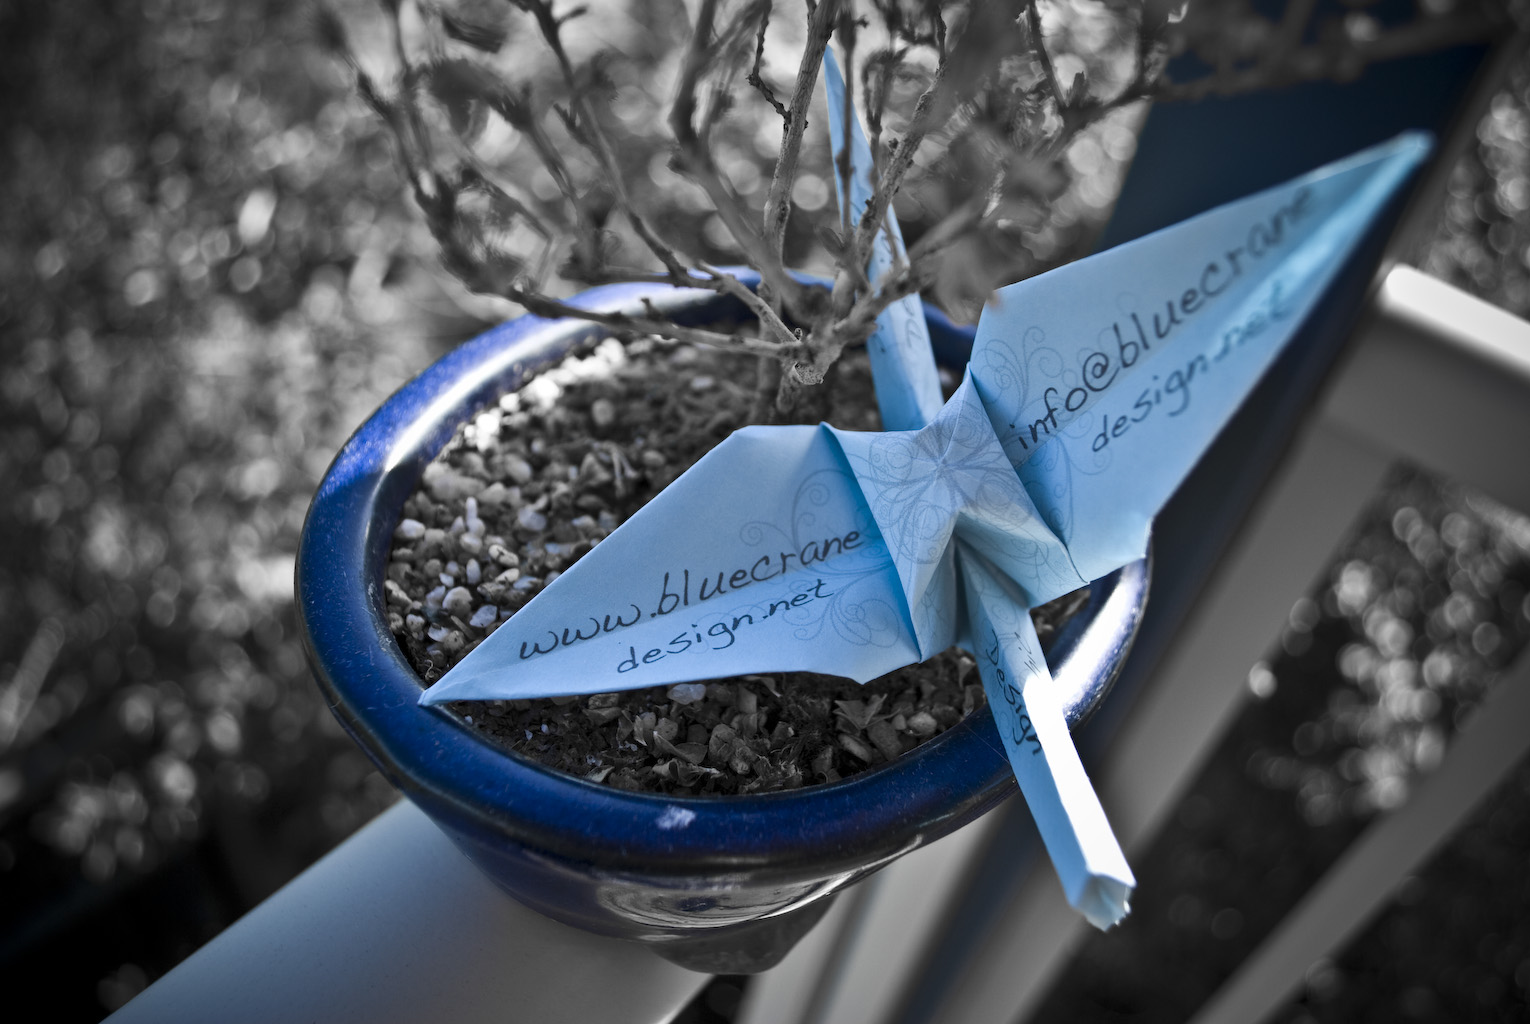
Since we are just interested in turning colours into black and white, click on the saturation tab. I want the blue to be the only colour left in this photo, so drag every colour slider EXCEPT blue all the way to the left.

You should pretty much see the desired result immediately, but let’s do a little bit more touching up. I’m going to boost the blue up a little bit more in the saturation department to +30.

So now let’s go back to the basics tab and up the clarity. I like really sharp images so I’m going to +100, but you do what you think looks right.

Then go up to the contrast tab and I’m just going to up it +30 and that will just be our little secret. But if you tell anyone…I’ll never be your friend again!!!!!

Now that we are done with that, let’s go up to the Lens Corrections tab.

What we are doing here is adding some Lens Vignetting. This is a really useful tab if you are shooting without a Lens Hood as it can add/remove the glare around the edges of your pictures, but we are going to use it artistically. I’m dragging it down to -100 and the midpoint to -30.

And viola! We are done. Now let’s take a look at that final picture.

Cool tutorial! I always wondered how you made that image :D I'm really glad you're blogging again!
ReplyDeleteI loved watching the transformation of the photo! Hope you guys had a wonderful Christmas and that you have a super 2010.
ReplyDelete